Cookie week continues!!! I had so many great recipes from the cookie exchange that they didn’t all fit into one week! Here is another great recipe for you: Spritz Cookies!
This recipe was actually passed down to me from my mom. One supply you will need is a cookie press, or as I like to call it a “cookie gun.” You basically make the batter, insert your dough into the barrel of the “gun” and shoot out cookies in different shapes of your choice. My cookie gun was actually given to me as a Wedding Shower gift from one of the Food Marriage Blog followers, Mary Ellen Angely! Thanks again for a great present!!!! I have been getting a lot of use out of it!
 |
| My Christmas Tree Spritz Cookies |
Ingredients:
- 1 cup (2 sticks) butter
- 1/2 cup sugar
- 2 and 1/4 cup flour
- 1/2 teaspoon salt
- 1 egg
- 1 teaspoon almond extract
- Decorations of your choice (sugar crystals, maraschino cherries, etc)
- Cookie Press/Cookie Gun
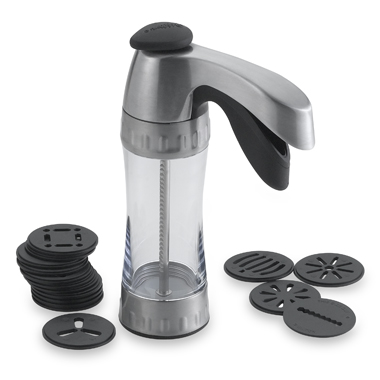 |
| Wilton Cookie Pro Ultra II Cookie Gun |
Directions:
- Preheat oven to 400°.
- Cream butter and sugar in a mixer.
- Add remaining ingredients and mix well.
- Add food coloring if you would like at this point.
- Using a cookie press, select your desired design and create your cookie shapes onto an ungreased cookie sheet.
- Add decorations at this point if you would like, prior to baking in the oven.
- Bake in 400° for about 6 to 9 minutes until they are set (do not wait until they get browned).
- Remove from oven and cool on wire racks.
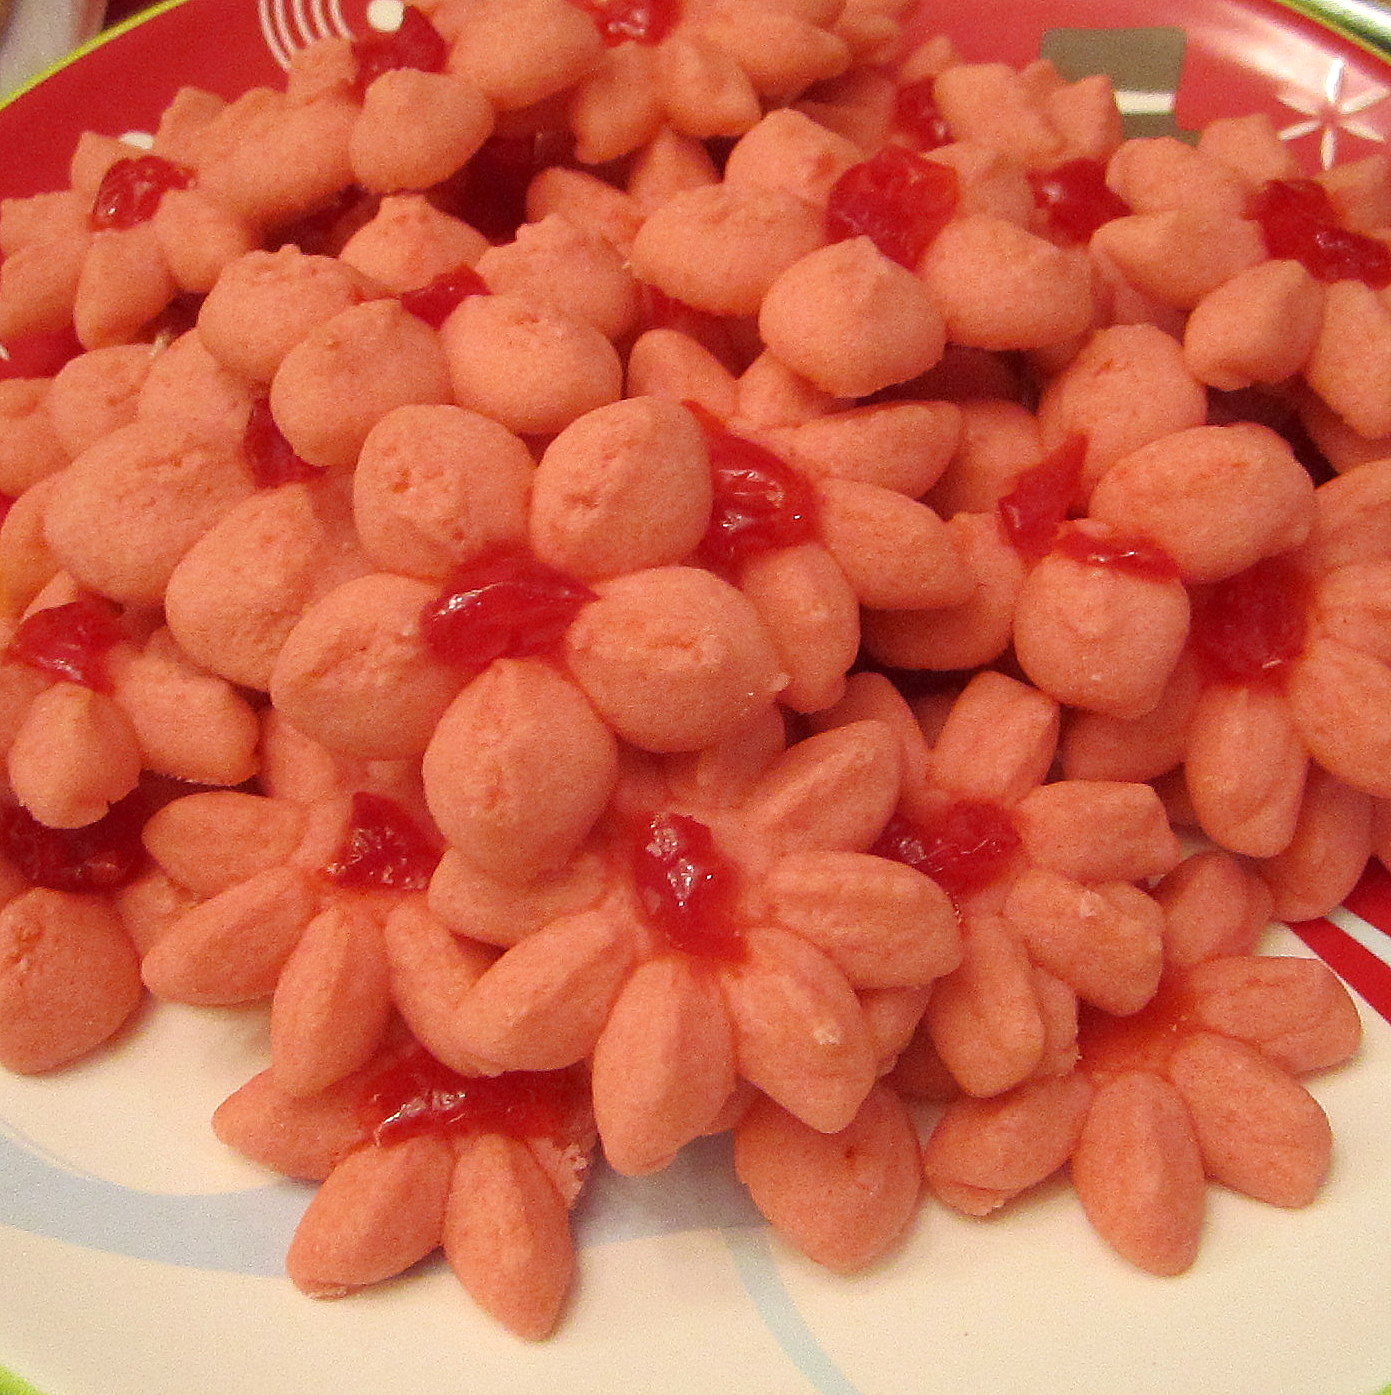 |
| My Poinsettia Spritz Cookies |
This recipe will make about 5 dozen small cookies. When I made my batch, I actually split my batter in half and made half of it green and half of it red. Here’s how I decorated each one:
- Green Christmas Tree Cookies: I chose the Christmas Tree Shape from my cookie press and inserted the green dough. After pressing out all of the tree shapes, I decorated each tree with green decorative sugar crystals and topped each tree off with a yellow star. The star came from a pack of cupcake decorations that I sorted out to just find the yellow stars.
- Red Poinsettia Cookies: I chose the flower shape from my cookie press and inserted the red dough. After pressing out all of the cookies onto the cookie sheet, I then cut up maraschino cherries into small pieces and added a small piece of cherry to the middle of each cookie.
Be careful with your “Cookie Gun,” or you might shoot your eye out!
I got one of these for Christmas and can’t wait to try it. The poinsettia cookies are something I have not ever seen, now you have me curious about the variety of shapes! Your cookies do look pretty as well as delicious-perfect for the holidays!
Thanks for the comment…yes it is really fun to play with the shapes!! For the poinsettias I actually used two different flower shapes and mixed them together on the tray. There’s also a shape that comes with the cookie press that looks almost like a straight line….they are great for making bar-shaped cookies in any length that you like!! Have fun!!